Finishing is where many woodworkers stumble. You've spent hours — maybe days — building something beautiful, and now the final step threatens to ruin it all. A bad finish can obscure grain, create blotches, or peel away within months. A good finish enhances everything that came before, protecting the wood while letting its character shine through.
The key is understanding your options and matching the finish to the project. There's no single best finish — only the right one for the job at hand.
Oil Finishes: The Natural Choice
Oil finishes — linseed oil, tung oil, Danish oil — are among the simplest to apply and the most forgiving for beginners. They penetrate the wood rather than sitting on the surface, enhancing grain and color without creating a film. The result is a natural, tactile finish that looks and feels like wood, not plastic.
Application is straightforward: flood the surface, let it soak in, wipe off the excess. Repeat two or three times over a few days. The wood will have a warm, low-sheen glow that deepens with age. Oil finishes are also easy to repair — just apply more oil to worn areas.
The downsides are real, though. Oil finishes offer minimal protection against water, heat, and abrasion. They're fine for decorative pieces, bookshelves, and items that won't see heavy use. For a dining table or kitchen counter, you'll want something tougher. Danish oil offers slightly more protection than pure linseed or tung, as it contains a small amount of varnish resin.
Varnish and Polyurethane: The Armor
When durability is the priority, varnish and polyurethane are your allies. These film-forming finishes create a hard, protective layer on the surface that resists water, heat, scratches, and most household chemicals. For tabletops, counters, and high-use furniture, they're often the right call.
Oil-based polyurethane adds a warm amber tone that enhances darker woods beautifully. Water-based polyurethane dries clear, making it the better choice for light woods like maple and ash where you want to preserve the natural color. Both are brushed or wiped on in thin coats, with light sanding between applications.
The trade-off is that film finishes can look and feel plasticky if applied too thickly. They also trap any imperfections — dust, brush marks, bubbles — permanently. Successful application requires a clean environment, good brushes, and patience. Thin coats and proper sanding between them make all the difference.
Shellac and Lacquer: The Classics
Shellac has been used as a wood finish for centuries, and for good reason. It's easy to apply, dries fast, and produces a beautiful warm sheen. It's also completely natural — made from the secretions of the lac beetle dissolved in alcohol. Resources like Fine Woodworking have published excellent guides on applying shellac by hand. Shellac is an excellent sealer and works beautifully under other finishes.
As a stand-alone finish, shellac has limitations. It's not resistant to water or alcohol — a wet glass will leave a white ring. But for pieces that won't see wet use, such as clocks, picture frames, and display shelving, shellac is hard to beat for beauty and ease of application.
Lacquer, typically sprayed rather than brushed, produces a smooth, even finish that dries in minutes. It's the go-to finish in production shops for a reason: it's fast, it builds well, and it can be rubbed to anything from a satin sheen to a mirror gloss. The downside is that spraying requires equipment and ventilation, and lacquer fumes are not to be trifled with.
Choosing the Right Finish
Match the finish to how the piece will be used. A decorative wall shelf needs only an oil finish. A kitchen table needs polyurethane or a marine-grade varnish. A jewelry box might deserve the elegance of French-polished shellac. A set of outdoor chairs demands a finish rated for exterior use — spar varnish or a penetrating exterior oil.
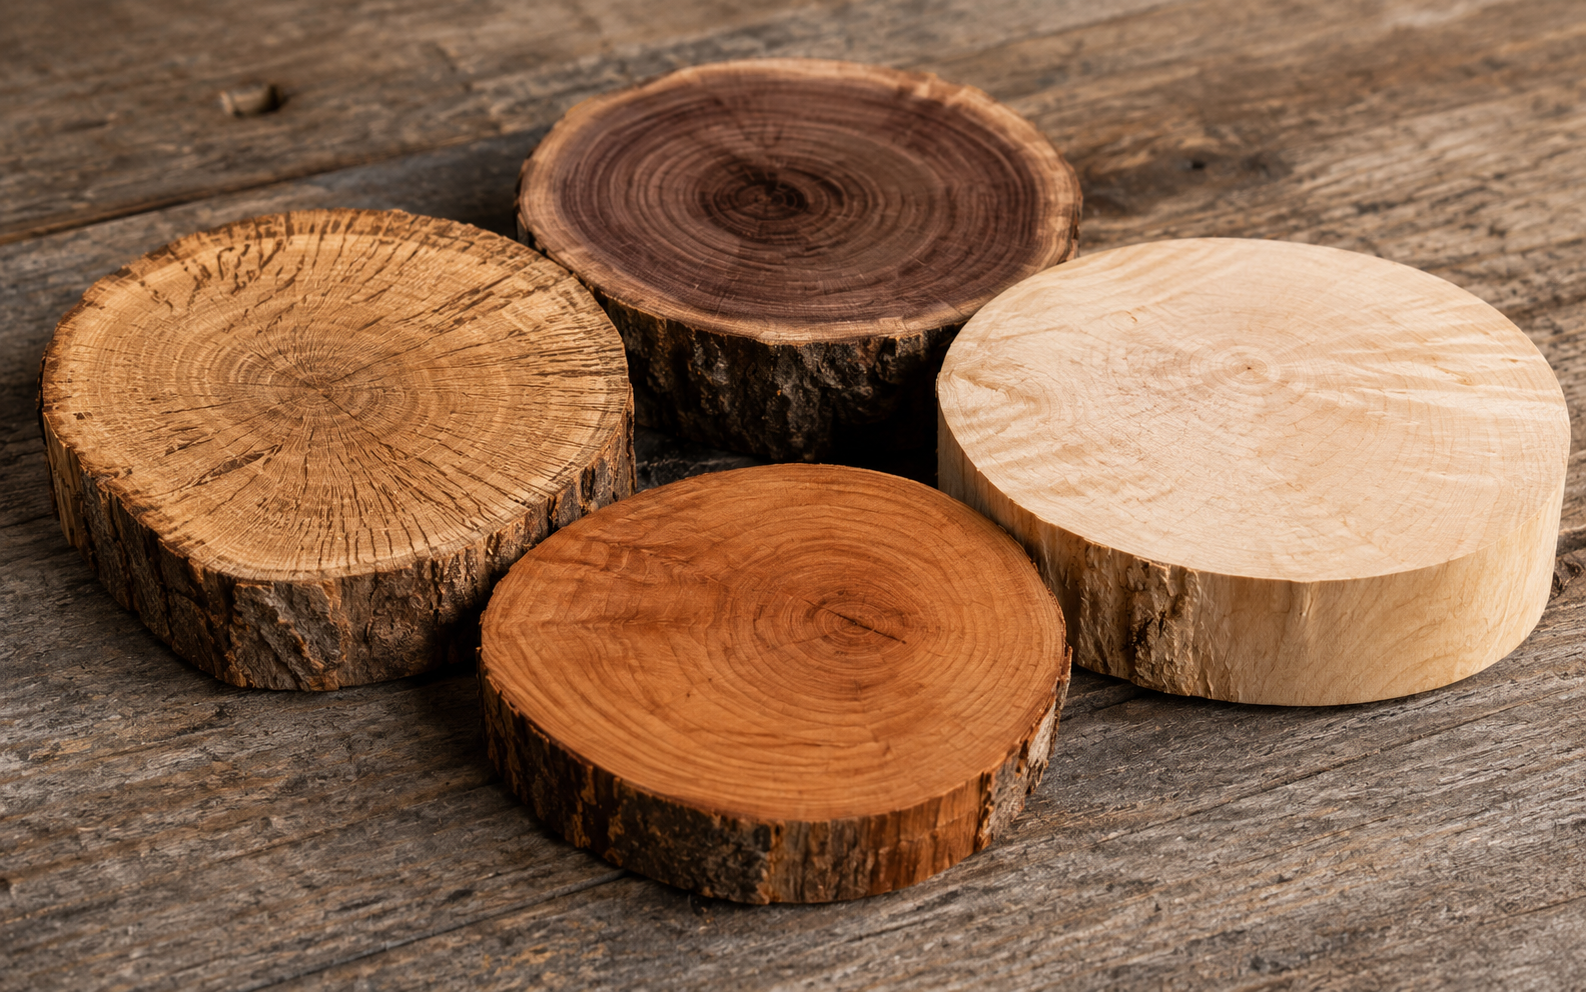
When in doubt, test on scrap from the same stock. See how the finish interacts with the specific wood you're using. Does it blotch? Does it enhance or muddy the grain? Is the sheen level what you expected? Five minutes of testing can save hours of regret on the finished piece.
And always, always sand properly before finishing. No finish in the world will save a poorly prepared surface. Work through the grits methodically — 120, 150, 180, 220 — and let the wood tell you when it's ready. When it feels like silk under your fingers, it's time to finish.